
 This is a mini tutorial, with a slight alternative to the original as posted by Jolene and Blue Elephant Stitches (you can also see her inspiration quilt here). Krista is also doing a quilt-along with this quilt! :)
Anyway -- I didn't have time to actually sew this block together, but in case you do, here's the idea behind using setting triangles for making this block, rather than trimming and ending up with bias edges. This is the same concept as you would use with blocks set on point. Because I can never remember the equation, I use this resource: http://www.laurenandjessijung.com/resources_charts.html
I hope it makes sense!
1) You need:
- eight 2 1/2" squares outer color
- five 2 1/2" squares inner color
- two 4 1/8" squares sashing (for sides)
- two 2 3/8" squares sashing (for corners)

2) Cut the 4 1/8" squares on the diagonal twice; these will be used for the side setting spaces.
Cut the 2 3/8" squares on the diagonal once, and use these for the corners.

3) Arrange and sew in to rows on the diagonal (as Jolene showed!)

You want to keep the straight edges of the square lined up with the side of the triangle, so the acute angle edge of the triangle will stick out a little, and you'll have to trim the little "dog-ears." (this is what I'm talking about -- Kristen has yet to trim hers).
Hope this helps! Both methods work; I just prefer no bias edges!
These blocks are just adorable however you cut them! :)

Thank you again Jolene for your quilty genius.
________________________________________
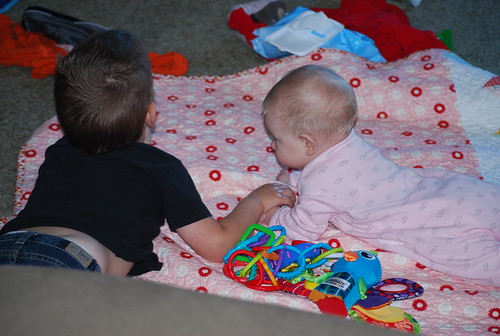
Steiger likes to hold Scarlet's hand. ♥
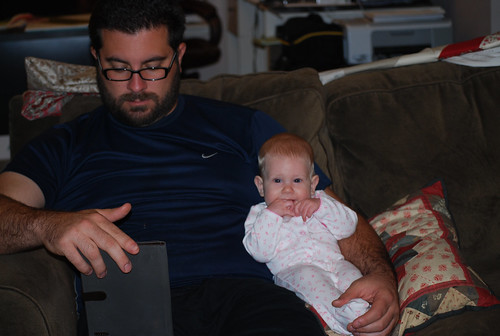
And Daddy holding his baby girl.
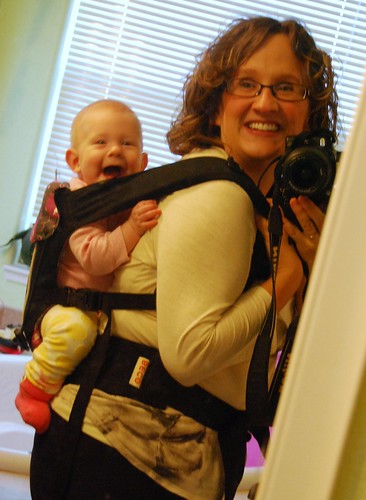
And how Scarlet and I roll...
Oh wait! One more -- Steiger did this the other night, and I promise neither Jay nor I had any hand in arranging these letters...
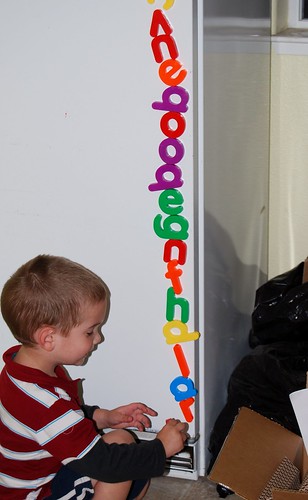
But it did make us laugh.
Come back tomorrow!* I finished my "French Kisses" top and backing, and it's off to the quilter! I will show you the top, give you fabric requirements, and you can think about if you want to quilt along with us! (There might also be a giveaway involved... *hint hint*)
*"Tomorrow" is totally contingent on my two little ones... and whether or not my new glasses come in, because this morning I broke the nose pad off the ones I've been wearing the past three years.
15 comments:
Haha those letters crack me up! Love it!
Such pretty pinks.
Awwww holding hands with his sis...sooooo sweet.
Love the pictures!! Eh about the glasses I broke my favorite pair of glasses from like 5 years ago earlier this year it was pretty upsetting. I am creature of habit though!!!
YAY babywearing!! :)
Thanks for this - though I'm wondering if you could explain a little something a bit more for me? I've been staring at the resource you linked, with the formulas for calculating the sizes, and I can't figure out how you arrived at 4-1/8" squares. Would you mind elaborating? Thanks!
thanks for doing the math for me! Ive been loving the blocks but putting off doing the math!!
and love the kiddo pics!
Love, love these pictures! What a wonderful way to start my day and with a good laugh at the end. Steiger holding Scarlet's hand is priceless, and her laugh in your picture with her even more so. Thank you.
I don't like having bias edges all around a block, so I love this method! And know what else I love, Scarlet is sitting on the pillow I made!!!! That makes me so happy. boob also makes me smile. You and Scarlet both look adorable in that photo - kids love riding on mama's back, don't they?
Thank you, Thank you!
The kids are adorable! I can't believe how big Scarlet is already.
Great photos! It took me a minute to realize what was so funny lol. I like your hst trick, the more I see this pattern the more I want to make it.
thanks for the tip!, i like it that way much easier, without the bias. i love your boy holding hands with his sister!
Rebecca~ come join us on the flickr group and you CAN make it!
Thank you Traceyjay! You just made my life a bit easier for when I attempt this! :D
Just joined this QAL, your tip looks excellent, thanks for posting it. Also, glad to find another farm family through blogland, can't wait to check out your blog!
Thanks for your measurements on the triangles for the granny squares. I like that I'll waste less fabric this way too.
I'm so grateful for your post. I know the blocks are popular and needed the measurements. Thank you. Your children are so cute, the pictures wonderful.
Post a Comment