Saturday, January 29, 2011

January's bee blocks

Pin It
(If you want links to any of these groups -- scroll down and look for the little bloggy buttons). :)

First up (but finished last) --For the VIBees, Cherie's Kitchen Windows (loosely based off Elizabeth Hartman's "Kitchen Windows" found in her book)... 

Windows for Cherie

No one in the group had gone symmetrical so far... so I decided I would make little window panes. 

__________________________________

For the Fresh and Funky Bee -- 

I had Maria's whimsical Christmas blocks to make up...

Maria's November blocks

(there's even a little bit of Kate Spain's new Flurry in there)

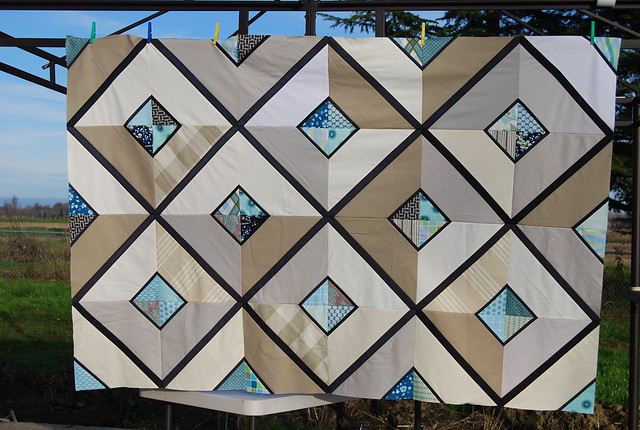
And Mandy's square in a square.

blocks for Mandy

__________________________________

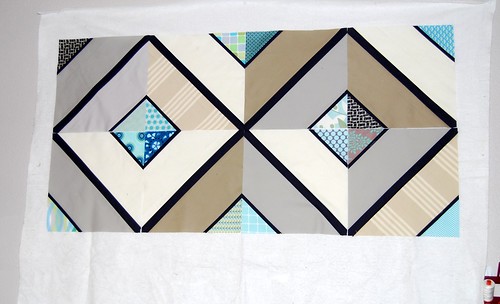
My favorite blocks of the month were made for Molly in our Bee Splendid group. 

blocks for Molly

Love this shape and love these solids.  This quilt is going to make a statement when it's all done.

Don't forget to come back for Quilt Hope In's big grand opening celebration February 1!

Friday, January 28, 2011

on Thursdays at Heartline...

Pin It (cross-posted here and at Quilt Hope In)

Oh please oh please do go read this post...


___________________________________________

Quilt Hope In sold its first item. 

The grand opening of the shop (with giveaway prizes for people who want to make something to donate -- Email me a picture if you want to donate some fabric for the giveaway!) is Tuesday, February 1.

You know, Lee said it best a few weeks ago... the more I read about Heartline, the more I like it. 

I feel the same way.  I feel excited to be able to do our little part, as a united bloggy world, to help out.


Tuesday, January 25, 2011

WIP Wednesday -- ch ch ch ch changes...

Pin It I'm posting this a little early, and hope to get it linked to Lee's WIP Wednesday sooner rather than later!

WIP Wednesday at Freshly Pieced

_______________________

First up -- 

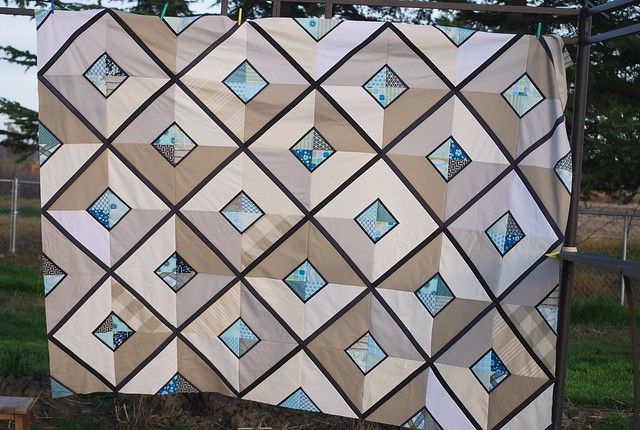
You might be sick of seeing it by now, but I finished my Urban Lattice quilt top.  

completed Urban Lattice top

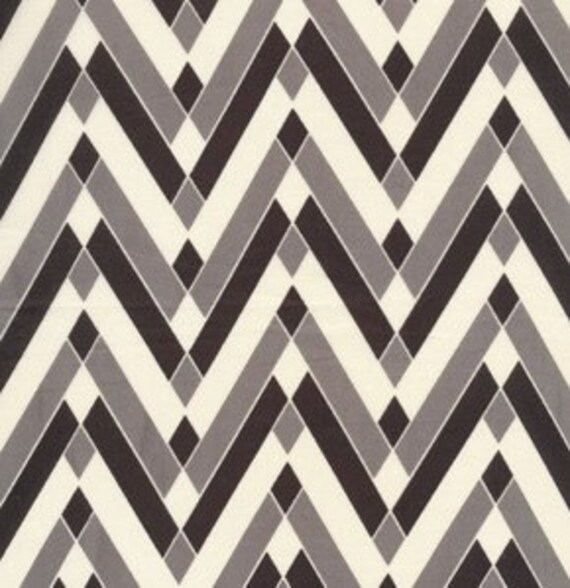
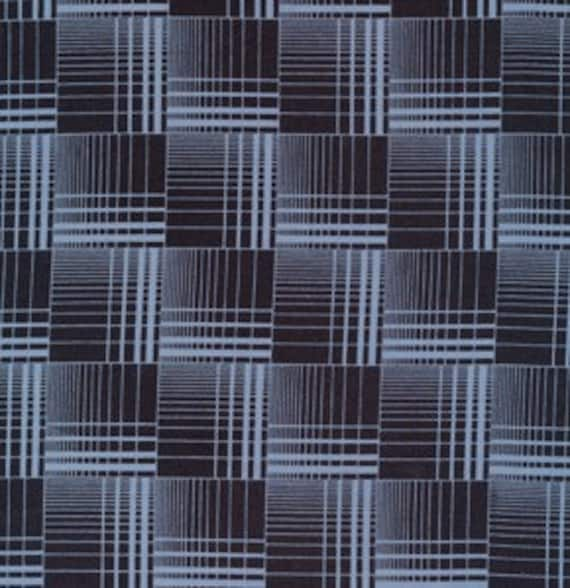
I've been talking emailing with Wendy, and she mentioned Greenfield Hill for the backing.  I was thinking this plaid print, with maybe a little of the chevron pieced in???


This week, I also got eight of these blocks made for my niece's quilt (she's due March 1!)

Sunkissed WIP

I'm toying with the idea of writing this quilt up in to a pattern... what do you all think?

__________________________

Somewhat sadly, sewing has slowed down in my world. 

This week, I went back to work *gulp*

I think I've told you all that I live in the middle of nowhere?  Well... in that middle of nowhere, I used to work at the very tiny high school where I also happen to be an alumna.  A few days ago, they asked if I'd be interested in taking back my old position as English teacher, as the person who took my place got a job in a much bigger place than out here.  

I'll now be there three days/week until the end of the school year (I'm not planning on going back full-time any time soon).  

Of course I already miss Steiger (and sewing) like crazy, but he gets to stay with Grandma or Daddy, so I feel pretty good about that.  

I also feel pretty good about the fact that my vocabulary adjusted quickly from topics of trains and milk and pee-pee to things like persuasion, and paradox, and context.  

Please don't forget about me if I can't be in blogland as often, and believe me that I'll miss you! 

Thursday, January 20, 2011

how do you say "it's finished" in French?

Pin It c'est fini.


(thank you google... I knew how to say it in Chinese) ;)


-----------------------

About my first finish of 2011 --
Really, it's almost embarrassing in some respects.

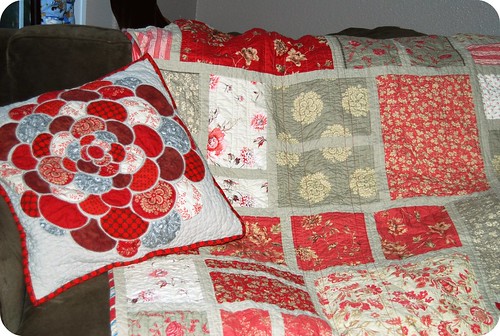
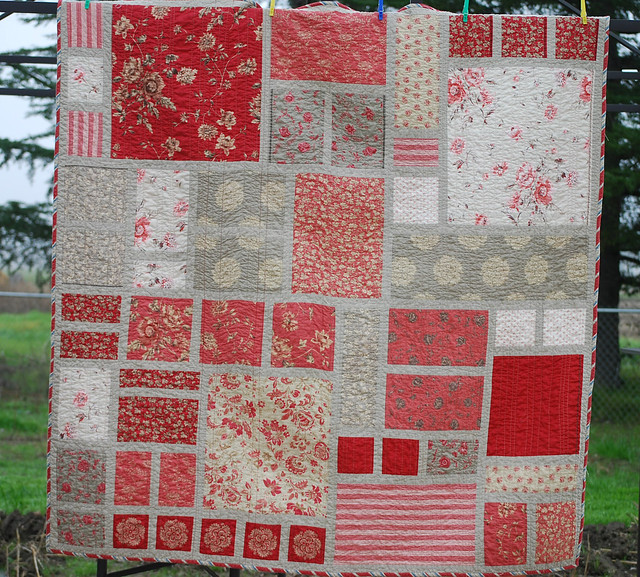
Completed Rouenneries

I had this quilt top done almost a year ago (eeps!)... but, like I mentioned there, I didn't know how to quilt it.

And so, sadly, it sat.

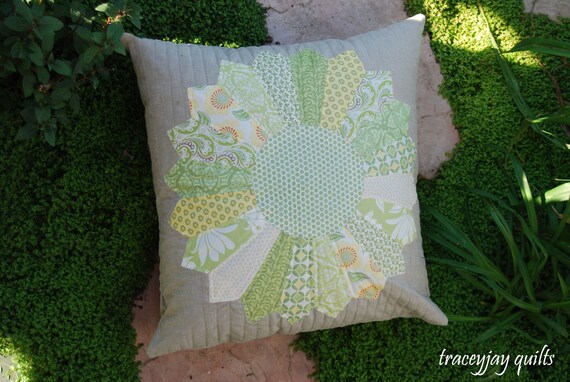
Holly (binkwaffle Holly) made me a gorgeous coordinating pillow (back in June)... and still, it sat.

But alas,
My Modern Rose Garden quilt top is now complete.

And where it belongs.

new quilt with its mate

___________________________

I bought the pattern, Modern Rose Garden, from the lovely Emily Cier of Carolina Patchwork.  It was going to be one of my first completed quilts, and it was going to live on my couch... I guess you could say I got distracted. :-/

Completed Rouenneries

The fabric is from the Rouenneries collection by French General for Moda.  Before I bought this fabric, I didn't think I really liked it... I was so wrong.  

If you haven't seen French General fabric for yourself, be slow to judge... my hunch is that many of you would be like me and fall in love with it in real life.

Rouenneries was the first collection by Kaari Meng (of French General), and I still really like it (though I think La Petite Ecole is my new favorite).

With this top, for some reason, it took me a very long time to come up with "straight line quilting."  Though I don't know why... probably, I was over-thinking it.

What I love:
- the fabric
- the linen sashing and the texture it gives
- the monochromaticness
- the little man who already loves it
Completed Rouenneries
- the binding (I love binding with a woven)
- the homey feel of the quilting
- the label (you can't see it too well, but it says "Made with love for my family" and has those pretty French General selvages)

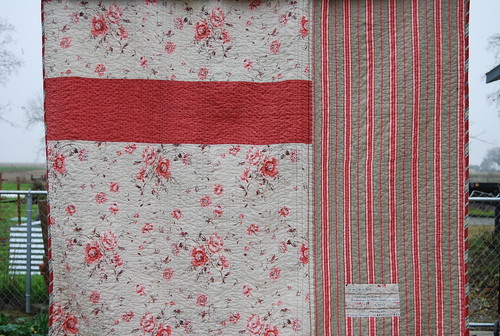
Completed Rouenneries back

What I don't love:
- the fact that my backing was an eensy bit too small, and I had to fudge the binding over in a few places
- the fact that it took me this long!

My message(s) of the day:
  • Don't stress too much over the quilting -- simple is still beautiful.
  • If you think you don't like a fabric, you might be wrong
  • Asking for coordinating items from swap partners is a fun way to decorate your house. :)
  • Every now and then, keep a quilt... and put it in permanent ink on the back. :)

Wednesday, January 19, 2011

WIP Wednesday -- two quilt alongs now. :)

Pin It Yep, that's right.  I'm now in the thick of not one, but two quilt alongs. :)

First up --

Cara's Urban Lattice.

This is going to be Jay's manly quilt... and fittingly, Jay stayed up late with my Sunday night to finish all forty-eight blocks.  I finished at 11:57.

I tried to get up before S on Monday morning to lay them all out, and I did beat him, but not by enough time.  So I finished the lay-out during his nap, and got half of them sewn together that evening.

Urban Lattice WIP

I am proud to report that making the blocks without paper piecing still resulted in perfectly aligned points.

_______________________________

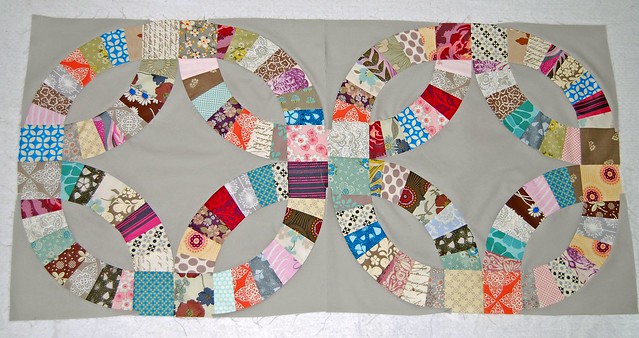
Next up -- Aneela's "Pickledish" quilt along.

(I have heard that this isn't technically a pickledish block, but a modified wedding ring -- I'm not an expert, but I thought you might be interested in that little tidbit)

These are my latest obsession.  I would sew these all day (and night) if I could.

You saw the last two...

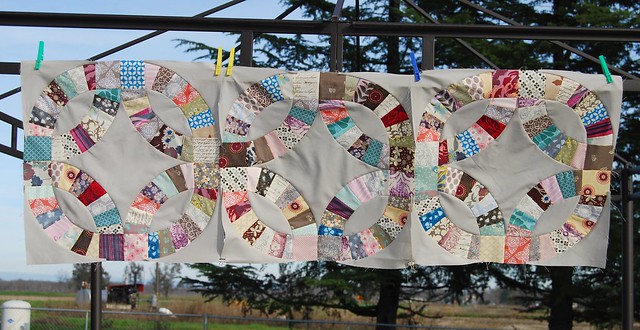
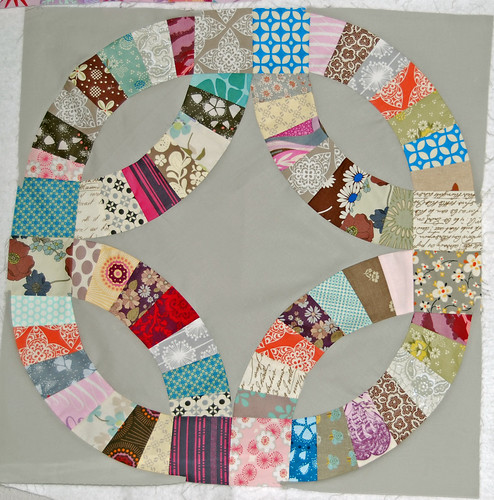
"Pickledish" blocks

...and then there were three.

____________________________

In good news -- 
I got a finish this week! (show you Friday).

But I'm starting a new one (for my niece due to arrive sometime around March 1)

Sunkissed stack

I love this Pink Lemonade look. :)

I'm linking this in to Lee's WIP Wednesday!  Go see who else is playing. :)

WIP Wednesday at Freshly Pieced

Tuesday, January 18, 2011

lucky me. :)

Pin It I showed you what I sent... but I didn't show you what I got yet. :)

And I have to say that I was, yet again, blessed with some excellent swap partners. :)

First, with "Make Mine Modern"

Lisa was my partner, and she completely spoiled me.

The loot!

A sewing machine cover (that is reversible to hold the goodies you can see above)

sewing machine cover

This super ridiculously cute wall hanging (that hangs above my sewing machine)

Adorable little wall hangingS loves it too

And some really adorable fabric... (none of which I had... which is hard to do!)

fabric bundle!

Thank you Lisa... you get super partner award. :)

(P.S. Lisa is competing in SYTYC (So you think you're crafty)... I've seen her work; I think she'll go far. ;)

___________________________


And the Pillow Talk Swap

Amanda (amandaquilts) was my partner, and she made such an incredible. thoughtful, adorable pillow... I absolutely ♥ it.

Those half-square triangles are tiny and so precise!

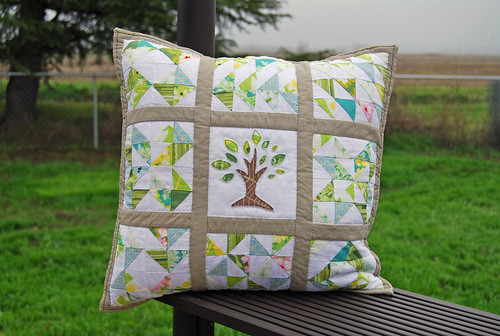
It will look perfect with my chubby stars, and is made in one of my very favorite fabric collections (Nicey Jane).

Pillow talk pillow received!

Thank you so much ladies!  These were so great... both of them. :)

Saturday, January 15, 2011

Sunday's fabric -- "in a dish"

Pin It
(yea, I'm posting "Sunday's fabric a little early.)


I'm going to give you all a little insight in to the conversations at our house these days...


"Oh honey... we should go to Disneyland in February, so that we can get our $50 breakfasts." *


*We went to D-land for part of our honeymoon, and stayed in the Grand California Hotel, and ate at their buffet EVERY morning we were there, and still talk about it all the time.


"Oh... that sounds too good!  You know I'm having a hard time here... why are you talking about French Toast, and syrup, and juice!?!"


------------
Take 2:


"Honey, guess what I want?"


"Sugar."


"yep."


_________________________________

Jay had made a resolution to go on a diet this year.  I still haven't lost the Steiger weight, and think it would be a good idea to finally make a real effort before I add weight with #2 (which we're still working on).  He's doing low-carb; I'm doing reduced-carb/no sugar.

We both miss sugar.  

In good news though, he's lost 6 pounds, and I've lost 4... and sugar really isn't good for us anyway, so I think we'll keep going for now.

Oh, let me get to my point. 

Though I have the ability to have many different projects going at once, I can only do one diet at a time.  And for now, it's the food variety.  (And I had some Christmas money).

These came in the mail this week (from Hawthorne Threads).

diet??? what diet?

So I added some of my own to the pile...

"pickledish" fabric

...and got busy sewing with Aneela.

Button


laying out the arcs

At this point, I had every intention of using ivory as my background, but this Moda Bella solid in Medium gray looked better. (I love this gray; I don't know if you can tell in the pictures, but it's a warm gray, and very pretty... I used it in Jay's quilt too.)

"the eye"
(I even did some of those curves without pins!). ;)

I made my first block.

First block

And then I made my second.

2 blocks done

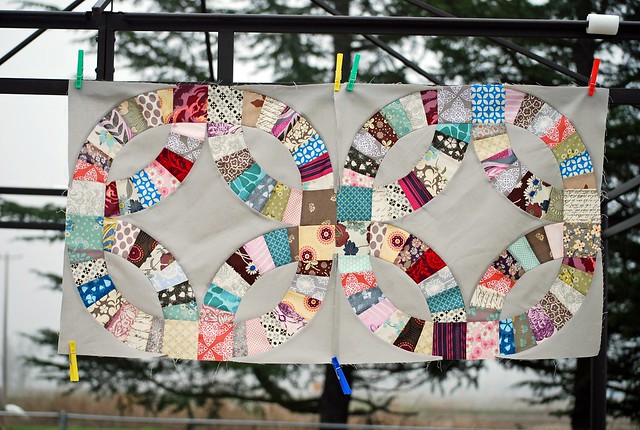
And then I took them outside to so they'd have a proper picture.

2 blocks done

10 to go!

Use the link above for all the information on making your own.  I used freezer paper for my templates, and it worked great.  :)

Thank you Aneela for a gorgeous design!

And Happy Dieting all... whatever form you have chosen. :)


Thursday, January 13, 2011

a quick how to: Urban Lattice Blocks without paper piecing

Pin It
Urban lattice quilt along progress

I've got 32 of the required 48 blocks done (for the size I'm doing... twenty-eight of them are pictured above.)


You can find a list of all Cara's directions here.

Materials needed: a 12 1/2" ruler (I got mine here when it was on sale last year some time)

Cutting:
I used Cara's specifications, with a couple changes...

For the main body pieces: I didn't use a trapezoid template, but just cut mine at 5 1/2" x half the WOF (don't worry about trimming selvages)

I added a small inner strip of the contrast lattice that I cut at 7/8" x ~11" (I cut the WOF in to fourths)

________________________________________

*Note: All seam allowances are 1/4" and I pressed all seams open for this block


  • Sew a body piece to each side of your main 1 1/2" x half the WOF center lattice strip.  The lattice strip will finish at 1".  

  • Shown in the picture below is a completed body section.

  • Mark at about 10 1/2" from the top.  There are tiny white marks on the lattice strip.  These mark the approximate center of my piece.  I used the lines on my cutting mat to help me keep everything straight, then laid the quilting ruler across a line to mark the outside edge of the center.

  •  If you want to add an inner contrast strip to your triangles, cut 7/8" x WOF strips and cut those in to fourths. Take your 5 3/4" squares, cut them in half on the diagonal, and sew the contrast strip to the hypotenuse (bias edge) of the triangle.  Press.

  • Line up the flag section (that's what I called it) so that the raw edges are lined up RST, and the point of the triangle (at the right angle) is pointing at the center mark.  (You can see the little white marks better in this picture).  Sew down and press.


Now is time to trim everything up!

Originally, I had taped my ruler to see where the edges lined up on my 12 1/2" ruler.

As you can see, that didn't work out very well, and wasn't actually necessary.

  • The diagonal center of the ruler is marked in one direction (It's hard to see in my picture -- click here to see what I'm talking about).  I lined that up in the center of my lattice strip (I drew tiny dots equidistant away from the corner of the ruler to mark where the edge of the lattice should line up with the edge of the ruler.  
  • Center the ruler(ish) and trim on all sides.


  • A completed Urban Lattice block (sans paper piecing)!


Making your blocks this way does require a consistent seam allowance and accurate cutting, so I wouldn't necessarily recommend it for an early beginner, but the blocks do line up so nicely.  I am confident my lines will look great when I sew them together.

urban lattice progress

P.S.  Quilt Hope In is accepting donations for a "soft" opening!  (We're trying to get all the kinks worked out with funding,etc.)  


Wednesday, January 12, 2011

On their one year anniversary

Pin It Nothing is finalized yet, but on the one year anniversary of Haiti's earthquake, our little shop, Quilt Hope In, is open for business.


Visit (and follow) Quilt Hope In's blog!

Email me at quilthopein@gmail.com if you'd like information on making a donation.

And look for the grand opening (with prizes!) to come soon!

P.S. (You have to read Quilt as a verb for the name to make sense). :)

Tuesday, January 11, 2011

quilting along... until...

Pin It So... apparently, getting four finishes in four weeks was kind of addicting, and yesterday, I felt the need for another finish.

Thusly, I pulled out this oldie but goodie...

DSC_0283

...made some backing, and got her basted last night.

Though I had been paralyzed for many months on how to proceed with this particular quilt...
( due to:
a) a total dislike of sewing sashing/borders (there were thin borders that needed to be added to the perimeter
b) a dislike of piecing backings -- and
c) a lack of decisiveness on how in the heck I was going to quilt it )

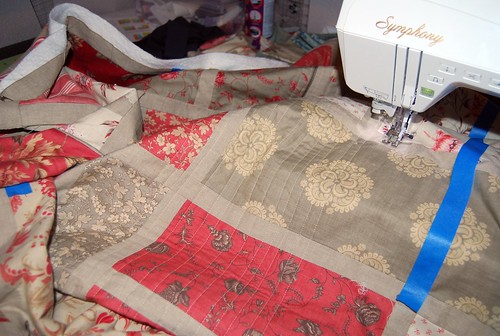
... I zipped on the borders, found an almost 2 yard piece for backing that I didn't mind adding to, and decided to go with straight(ish) vertical lines.

quilting along

The plan was to finish during Steiger's nap-time today. 

But shoot...

my walking foot is kinda loud...

and I don't want to wake the baby...

and I do have this great fabric pile I just pulled out...

and even though my queen bee turn isn't until March, I'd better make sure I have a plan... (you know, in case I need more fabric...

The siren won again.

just playing around

This is by no means a final lay-out (still way more cutting to do)... but it was kind of fun.  I think my bee girls will be making this block from Material Obsession 2.

LinkWithin

Related Posts with Thumbnails