Sunday, May 27, 2012

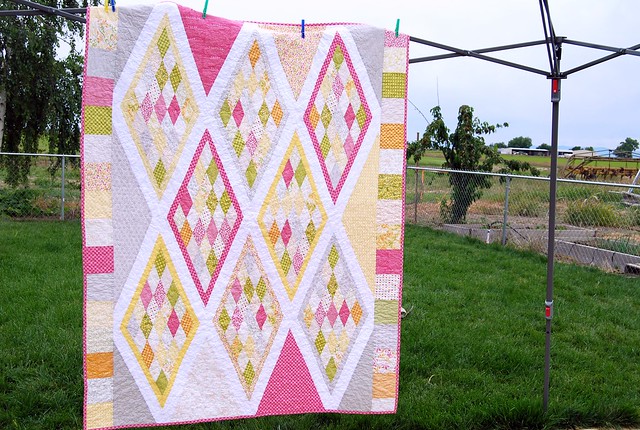
Sweet Baby Diamonds are here!

Pin It
Finally!  


My LONG ago promised tutorial for these quilts is up at the modabakeshop!

If you're new here -- welcome!

I have to give my little disclaimer -- this tutorial does not give all the specific measurements; however, I did make two of these quilts (with slight variations), and tried to share my methods for those who might want to try a design that seems intimidating (at first).  I would recommend some quilting background, but then you should be able to use the tutorial and end up with something like those things pictured up there.

But I'm not making any promises. ;)

Story on the quilts --

The boy version was started forever ago, but then I changed my mind on the design, and then I made it in Sunkissed and gave it to my new niece, and then the quilt sat.  And sat and sat and sat.  And my belly grew and grew.

Then I had a baby, and the baby this was going to was almost 1 -- so I got it finished.

Then I didn't want to write the tutorial (those are a lot of work yo!)  BUT -- I did it this weekend. :)

And I hope you all like it!

Some more pics of the quilts: 
Little diamonds for Libby

pure baby diamonds

upclose pure baby diamonds

Little diamonds for Libby

I really need to get pictures of these with the babies that own them!

I want to add -- I used this same method for piecing the little lonestar I made Krista!

____________________________

In other news -- 

I've almost got my Penny Candy pattern done! Hooray!

The pattern will include directions for the full size (84" square) or baby/throw size (54" square).

It's a super fun little pattern, that I'll tell you more about soon... but some of you have been asking about the fabric requirements -- so here they are:

Twenty-five assorted jelly roll strips (2 1/2" x width of fabric) -- OR -- 
Twenty-five assorted 10" squares

3 yards background (white)
1 5/8 yards contrast (red)

1 1/2 yards outer border 
7 1/2 yards backing (if you don't piece any in) -- OR -- 2 1/2 yards of 108"  (I'll use 5 yards and piece some scraps in)
5/8 yards binding (at 2 1/4" wide)

Here's a picture of the baby version!


These mock-ups feature Vintage Modern by Bonnie & Camille for Moda, but I have made another sample,  but in Denyse Schmidt fabrics (she did inspire the design after all!)


Anyway -- Thanks for coming by!

I hope you enjoy the tutorial!

♥ Tracey

(and now a couple recent family pictures)
the little ringbearer at his Uncle's wedding last weekend

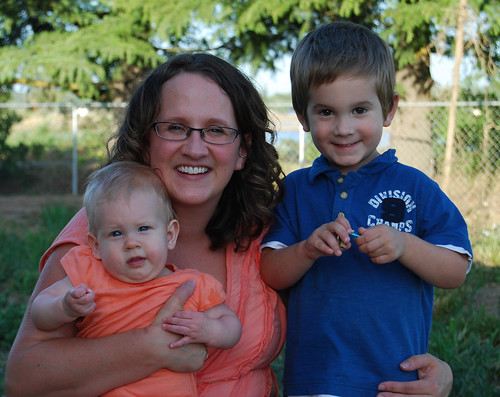
Mama and miss Scarlet. :)

Thursday, May 17, 2012

hair baubles (and mini tutorial)

Pin It
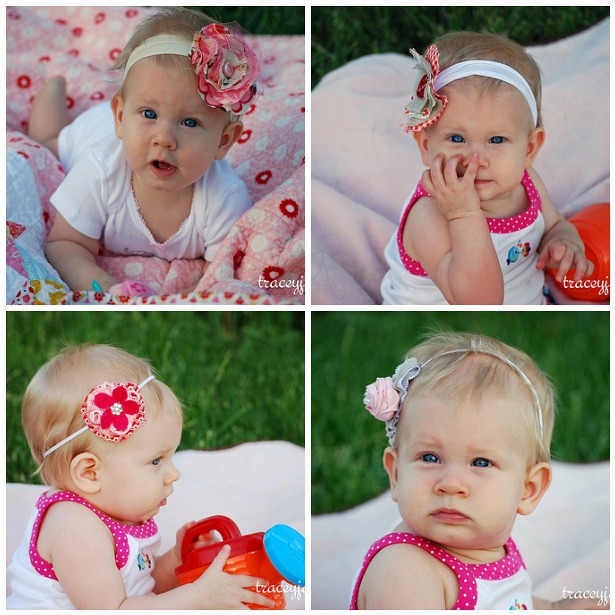
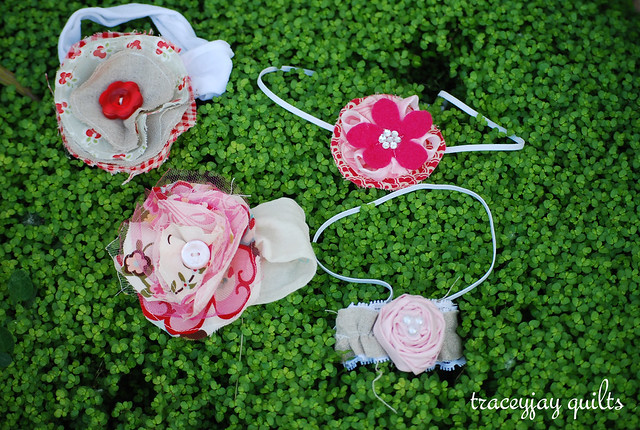
Hair baubles. :)

My life right now = crazy busy.
No, I'm not talking about the normal kind of busy with a baby and a toddler, but the kind of busy when Daddy hasn't worked less than 12 hours/day in 5 weeks (though technically he only worked 11 on my birthday).
Mama = tired.

That being said -- I *know* that I spent a good chunk of time yesterday cleaning the kitchen.  This morning, there is no evidence of this, other than perhaps the vague notion of how much worse it could be had I not cleaned and tidied what I'm sure I remember cleaning and tidying.  Therefore, despite the days being long, and the realization that I really cannot maintain my sanity and try to do one more thing (like make quilts), this mama's heart still craves the investment of at least a little time in accomplishing something that no one undoes 2 to 45 minutes after it is completed.  A quilt may be out of the question (those take forever, and I wanted to FINISH something)...

So I made hair baubles.

And I was so happy I wanted to make twenty. (And when I say happy -- I mean the wave of happy, positive neuro-feedback something or others were streaming in). :)

Still - I decided to stick with four for now. :)

hair baubles!


But I took lots of pictures to make up for it. (and I've got a little mini tutorial at the bottom for one like this one) :)

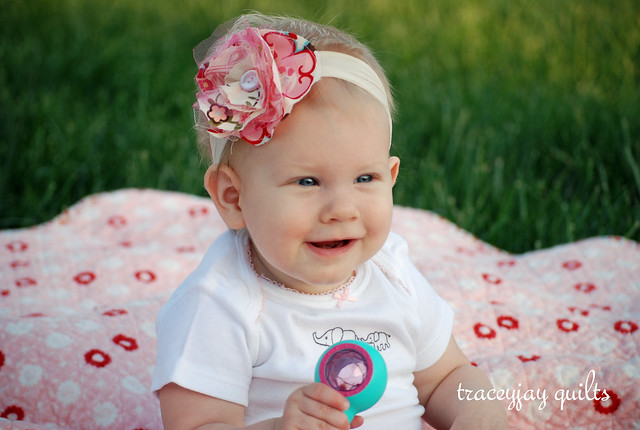
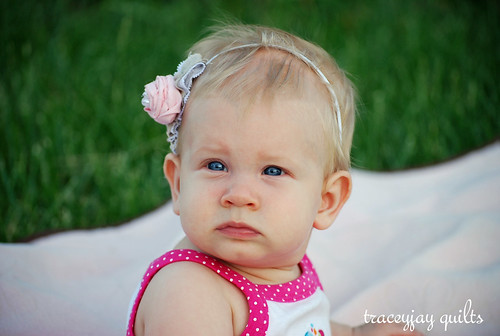
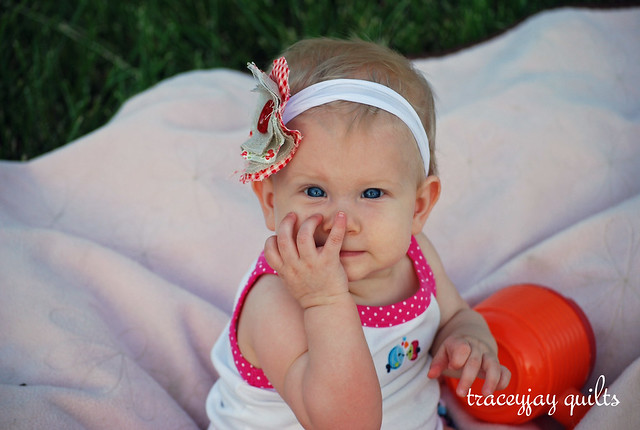
little miss Scarlet
The smiley little Miss sitting up on her own!

I think this one is my favorite.  I googled a tutorial for a fabric rosette, gathered some linen and elastic lace trim together, stitched it to 1/8" elastic, and hot glued the flower to the middle.  Oh, I stitched some plastic pearl beads in there too.

shabby chic rosette

I made the band a little too big, so I'll have to resize it, but I still got it to "fit" for a quick picture. :)

model baby


My sewing table is now covered in buttons, fabric scraps, a hot glue gun and the quilts have been moved to the side.  (At least until next week when Steiger goes to stay with his grandma for a couple days).


"Mini Tutorial"
Fabric Flower Hairband

country girl

1. Cut some "organic" circles out of fabric, linen, tulle, satin, whatever, in various sizes (so they get smaller gradually).  More tulle = more texture and poof obviously, and I think there were 4 

I burnt the edge of my tulle sometimes (on the pink ruffley one above to make it stand out a bit more -- just hold it next to a lighter, or your gas stove and melt the edges -- some of the tulle looks burnt if you do this, but the hot pinks didn't.  Make sure you don't hold the tulle over the heat of the flame, or it will have a hole burnt in it -- just the edge)

Stitch about 1/8" from the edge.  You can also use fray check if you don't have a sewing machine handy.  (But seriously, my first piece of advice for people who want to start sewing/being crafty is to leave your sewing area set up.  Hopefully you can still keep a dining room --unlike us right now).


2. Arrange them as you like, and stitch the layers together with a little X in the middle. 
(or you can use a little glue -- this is to tack or baste the layers together so they don't shift all over.)

3. Pucker/fold the centers and do a little stitching to make a gather.
And the picture isn't deceiving you - there isn't much perfection about this.  The bigger the gather, the poofier the flower (like the pink one above has more fabric in the pucker.  You could hand-stitch this if you don't have a machine, or I'm sure a glue gun could do something amazing.)

4. For the band, cut the toes and top band off a knee-high, and stitch the ends together.  
My machine likes to "eat" the nylon, so I start in the middle and sew to the edge.  Use regular size nylons if you need something bigger (for a toddler or, *ah-hem* yourself).


I didn't get a picture of the next step, but you're going to fold the sides over of the seam on your band.  Divide the band in approximate fourths, and fold each edge so they meet in the center like a pleat at the seam.

5. Grab a  button, hold the hair flower on to the pleat of your hairband, and stitch your button on, stitching through all the layers and securing the flower to the band.


6. Snag a baby, or a mirror, and you're done!

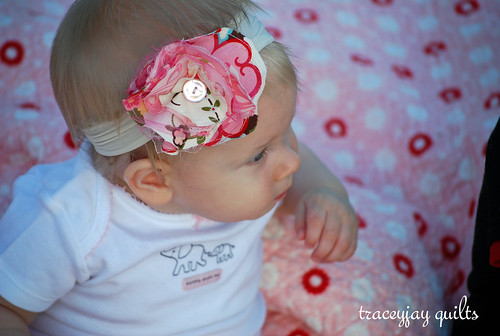
I call this bauble "country girl"

my little darling

(You can see how it lies flatter than the pink one -- just depends on how much you pull in in step 3, and how much tulle you use)

new hairband
(This one was made with the same method)

Pretty sure I'm hooked -- though I'm not sure if it's on the hair baubles, or just baby girl in general. :)
See her shirt -- she knows it's true.

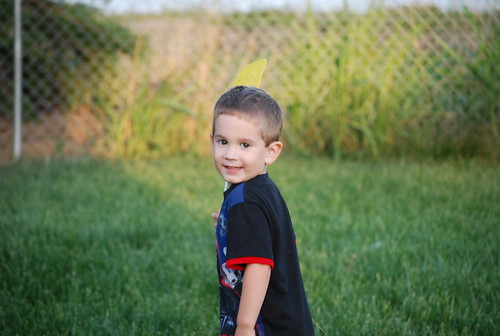
(and lest any one worry I've forgotten about her big brother -- rest assured, he's just trickier to capture on camera these days -- but I did get him running by with his fly swatter... he was "getting bad guys" or "bugs" or both)

Hi Steiger

(and P.S. my pattern sale ends tomorrow)


Monday, May 7, 2012

33

Pin It Tyler and I

Yep, today's my birthday.
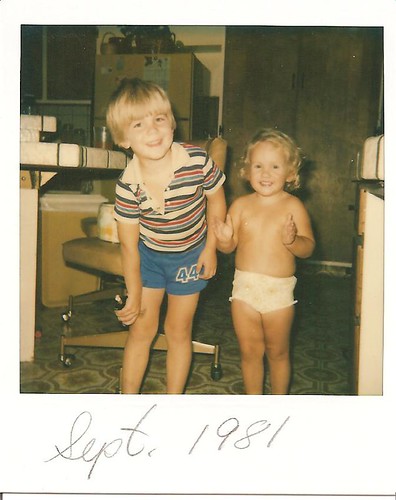
There I am with my big brother almost 31 years ago.
(I have those same legs... not much longer either). ;)

To celebrate today, I think the kids and I are going to go to town and meet Grandma for lunch.  Maybe Mommy will have to go to the quilt shop too.  I think so. :)

Scarlet and I are decked out in matching corally shirts; I should get a picture of us. :)  And in a couple years, I'll have to take a picture like the one above with her and her big brother.

And see how much she looks alike.

I do know she already has my thighs. ;)

--------------

And to celebrate, I've put French Kisses on sale -- for the next couple days, it's just $6.

If you've been waiting, then go get it now.

And don't forget to link up your three goals by today.

And most importantly, Mom, thank you for all the work you did 33 years ago to make this day possible.  I couldn't have got here without you. ;)

i love my mom

(I got a picture of us yesterday -- Daddy came home a little early, so we got to see him during daylight). :)

my kiddos

Tuesday, May 1, 2012

Just Three - May Linky

Pin It
May is here!  It's time for our "Just Three" Linky party! :)

traceyjay quilts

Wow...

May is my birthday month, and also an extremely busy time of year for us.
Right now, if you're curious about this farmer life, they're working the dirt to get it ready for planting.  The fields around our house have started flooding, which means the seed will be flown on soon.


My house is surrounded by rice fields in all directions as far as you can see.
And crop dusters, bless them, have insane hours this time of year trying to get all the seed planted.  Beings that I have lived in Asia for a time, and visited China, and actually saw hand-planting myself, you'd think that I'd appreciate these propeller powered beasts... but sometimes it's hard to appreciate anything at 5:30 in the morning that wakes up mommy and babies.

If only I liked coffee.... ;)

Anyway -- despite the challenges of long hours, I'm feeling all kinds of inspired. :)  Sometime during the next month, the little man will make a trip to Grandma's, and I will have a chance to work uninterrupted for a bit (though wouldn't you know, I miss him like crazy the moment I drop him off...)

So now -- my "Just Three" report... (You can find April's goals here) -

REPORT/REFLECT from April:

1) Finish Pattern #2 quilt, tentatively named "Penny Candy" and get it published, as well as getting paper patterns for French Kisses done.


I have the top done (minus borders technically), most the calculations calculated, and the baby version in progress (still).  BUT -- paper versions for French Kisses have been formatted, and I need to call the printing company again, because I haven't heard back from them with my quote.  
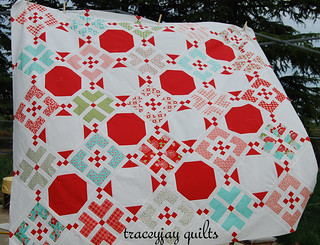

Penny Candy WIP


Reflection -- In the future, I will write patterns so that they don't take so many pages, because I like to print them in color.  The positive though is that all the feedback from the pattern so far has been positive, and people are reporting that the directions are clear and construction is smooth... *phew*

2) Complete one old WIP.

Kind of done, but not the ones I had planned.
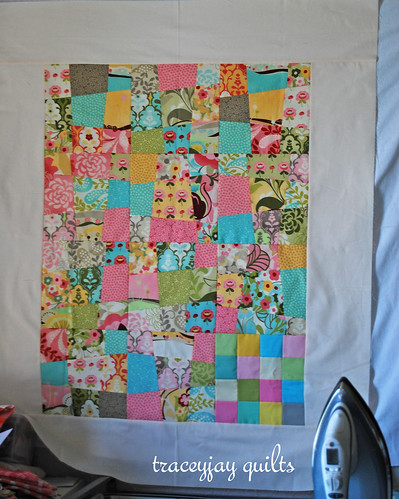
baby hunky dory

I am going to be swapping with a local photographer -- quilts for professional pictures of my adorables.  I showed her Kelly's pinterest board (where a photographer buys quilts from Kelly to use as props), and she liked this one best.  It's made with Hunky Dory, and the only Hunky Dory I had left were some wonky nine-patch blocks from when I made this project/tutorial.  After consulting some friends, they told me that for photos, I should skip the sashing and mash the blocks together.  Because I only had 11 blocks, I pulled some coordinating solids and filled in the missing spot, then threw a very pale pink bella solid for the border (white doesn't photograph as well).

Kelly is sending me some backing fabric, and this will be done.

3) My final goal was to make something pretty or fun for myself...

I got started on Scarlet's quilt.  I'm using all pretty colors and favorite fabrics, and a sort-of original idea that, again, was dreamt up while nursing her.
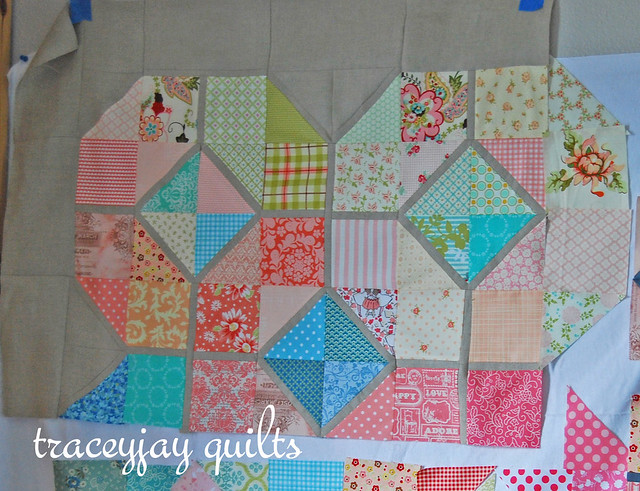
Scarlet's bedroom quilt

And I love it.  Ali is helping me work out a couple kinks in where the seams match, but it's coming together beautifully.

______________________________

May's goals!

1) Finish Penny Candy quilt and pattern. :)

2) Finish quilts for photographer swap and get pictures of the kiddos done!  (I also need to get #1 done, so maybe I can get professional pics of the quilt top at the same time... this sounds like a great idea to me) ;)

3) Make some bags.  Michelle has a new pattern coming soon, and I'm going to make one for my future SIL, and maybe one for me too.  And maybe a couple Mother's Day gifts...we'll see how it goes around here. 

______________________________

And so I don't leave feeling unaccomplished for the month, I'm going to remind myself that I'm pretty much a one-woman show right now, and we've made some great progress in other areas of our life...

1) Scarlet is eating vegetables and more real food (broccoli included).

Messy, but adorable business mom!

2) I've bought my last box of diapers for Steiger, and he knows more and more letters and numbers.

3) Steiger has a room (we're no longer like this), with an actual wall now, and a bed, and he's sleeping in there.  (And I'm stalling moving Scarlet out of our room because, even though we have a small house, her being across it feels so far!)  Expect to see more on the kids' rooms soon as I attempt to decorate! :)


Can't wait to see your reports and goals!  You have all this week to link up! :)  Write up your post, grab a button, and come back here to link up!

(also linked to Lee's!) WIP Wednesday at Freshly Pieced and Lynne's Fresh Sewing Day! 
Lily's Quilts


*P.S. You don't have to have just three goals for your month, but you have to pick just three to play along.  If you accomplish more than that, then don't tell me about it,  then it's just extra bonus! :)


LinkWithin

Related Posts with Thumbnails