

My life right now = crazy busy.
No, I'm not talking about the normal kind of busy with a baby and a toddler, but the kind of busy when Daddy hasn't worked less than 12 hours/day in 5 weeks (though technically he only worked 11 on my birthday).
Mama = tired.
That being said -- I *know* that I spent a good chunk of time yesterday cleaning the kitchen. This morning, there is no evidence of this, other than perhaps the vague notion of how much worse it could be had I not cleaned and tidied what I'm sure I remember cleaning and tidying. Therefore, despite the days being long, and the realization that I really cannot maintain my sanity and try to do one more thing (like make quilts), this mama's heart still craves the investment of at least a little time in accomplishing something that no one undoes 2 to 45 minutes after it is completed. A quilt may be out of the question (those take forever, and I wanted to FINISH something)...
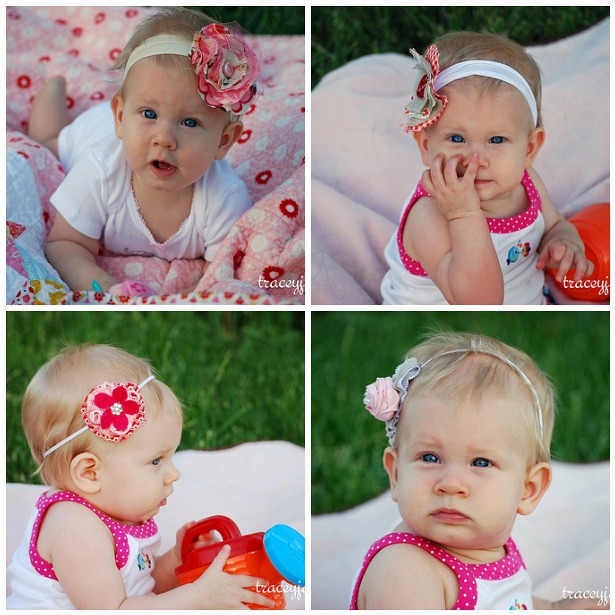
So I made hair baubles.
And I was so happy I wanted to make twenty. (And when I say happy -- I mean the wave of happy, positive neuro-feedback something or others were streaming in). :)
Still - I decided to stick with four for now. :)

But I took lots of pictures to make up for it. (and I've got a little mini tutorial at the bottom for one like this one) :)


2. Arrange them as you like, and stitch the layers together with a little X in the middle.
(or you can use a little glue -- this is to tack or baste the layers together so they don't shift all over.)

3. Pucker/fold the centers and do a little stitching to make a gather.
And the picture isn't deceiving you - there isn't much perfection about this. The bigger the gather, the poofier the flower (like the pink one above has more fabric in the pucker. You could hand-stitch this if you don't have a machine, or I'm sure a glue gun could do something amazing.)


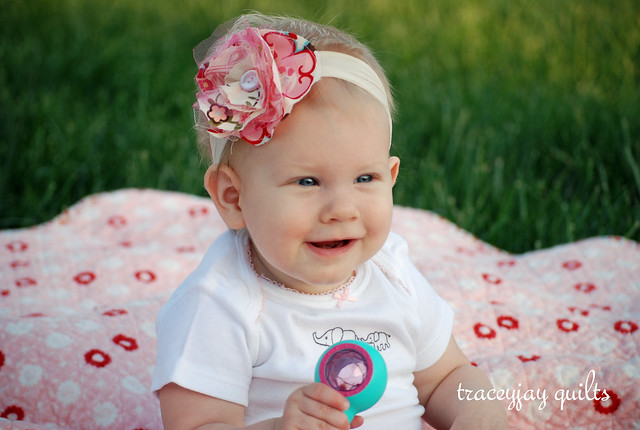 |
| The smiley little Miss sitting up on her own! |
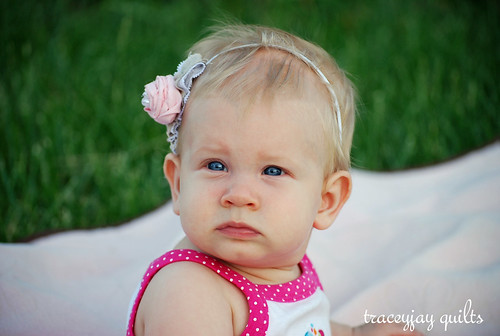
I think this one is my favorite. I googled a tutorial for a fabric rosette, gathered some linen and elastic lace trim together, stitched it to 1/8" elastic, and hot glued the flower to the middle. Oh, I stitched some plastic pearl beads in there too.
I made the band a little too big, so I'll have to resize it, but I still got it to "fit" for a quick picture. :)
My sewing table is now covered in buttons, fabric scraps, a hot glue gun and the quilts have been moved to the side. (At least until next week when Steiger goes to stay with his grandma for a couple days).
"Mini Tutorial"
Fabric Flower Hairband
1. Cut some "organic" circles out of fabric, linen, tulle, satin, whatever, in various sizes (so they get smaller gradually). More tulle = more texture and poof obviously, and I think there were 4
I burnt the edge of my tulle sometimes (on the pink ruffley one above to make it stand out a bit more -- just hold it next to a lighter, or your gas stove and melt the edges -- some of the tulle looks burnt if you do this, but the hot pinks didn't. Make sure you don't hold the tulle over the heat of the flame, or it will have a hole burnt in it -- just the edge)
Stitch about 1/8" from the edge. You can also use fray check if you don't have a sewing machine handy. (But seriously, my first piece of advice for people who want to start sewing/being crafty is to leave your sewing area set up. Hopefully you can still keep a dining room --unlike us right now).

2. Arrange them as you like, and stitch the layers together with a little X in the middle.
(or you can use a little glue -- this is to tack or baste the layers together so they don't shift all over.)

3. Pucker/fold the centers and do a little stitching to make a gather.
And the picture isn't deceiving you - there isn't much perfection about this. The bigger the gather, the poofier the flower (like the pink one above has more fabric in the pucker. You could hand-stitch this if you don't have a machine, or I'm sure a glue gun could do something amazing.)

4. For the band, cut the toes and top band off a knee-high, and stitch the ends together.
My machine likes to "eat" the nylon, so I start in the middle and sew to the edge. Use regular size nylons if you need something bigger (for a toddler or, *ah-hem* yourself).

I didn't get a picture of the next step, but you're going to fold the sides over of the seam on your band. Divide the band in approximate fourths, and fold each edge so they meet in the center like a pleat at the seam.
5. Grab a button, hold the hair flower on to the pleat of your hairband, and stitch your button on, stitching through all the layers and securing the flower to the band.

6. Snag a baby, or a mirror, and you're done!
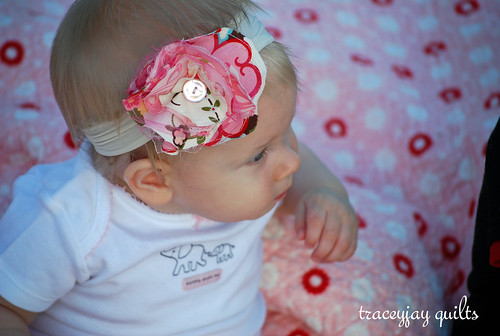
I call this bauble "country girl"
(You can see how it lies flatter than the pink one -- just depends on how much you pull in in step 3, and how much tulle you use)
(This one was made with the same method)

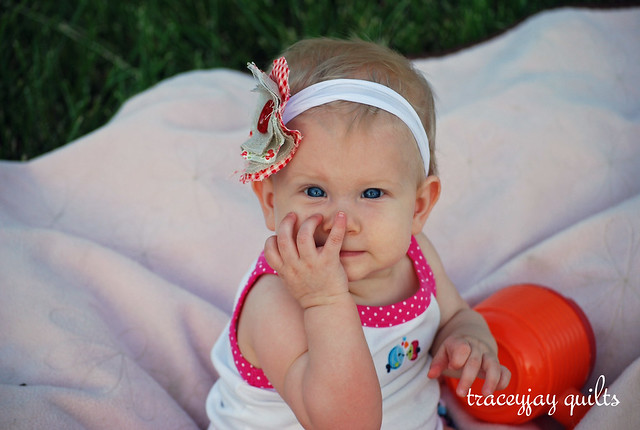
Pretty sure I'm hooked -- though I'm not sure if it's on the hair baubles, or just baby girl in general. :)
See her shirt -- she knows it's true.
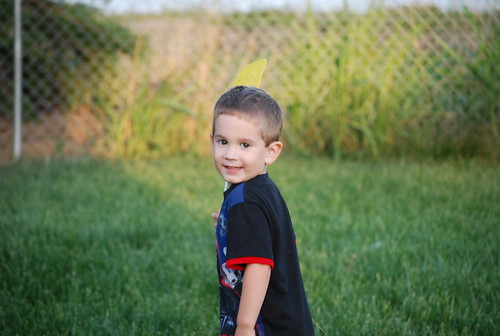
(and lest any one worry I've forgotten about her big brother -- rest assured, he's just trickier to capture on camera these days -- but I did get him running by with his fly swatter... he was "getting bad guys" or "bugs" or both)
(and P.S. my pattern sale ends tomorrow)
9 comments:
Those are cute Tracey, I might need some of those for my hair!
Oh, Tracey! I have a niece who DOES NOT go a moment without a flower or bow in her hair--the bigger, the better! I need to make these for her!
Those are adorable hairbands!
cuuuuuuuuuute! Not only did you finish 4 projects, you made a tutorial? Stop it! You're putting the rest of us to shame!
Aww, she looks like she caught the happy bug with them too!
Scarlet is totally Blue Steeling in the bottom right of the mosaic. Love the baubles. Don't love that Mama's so tired. Hang in there.
The hair bows are adorable and Scarlett looks so cute [and big!]. I'm sure farming season will be done before you know it.
I love her!
These are really cute! Thanks for the tutorial. I think some last minute patriotic hair baubles might get added to my to do list for the week!
Post a Comment